
Patriotic Quilt Tutorial
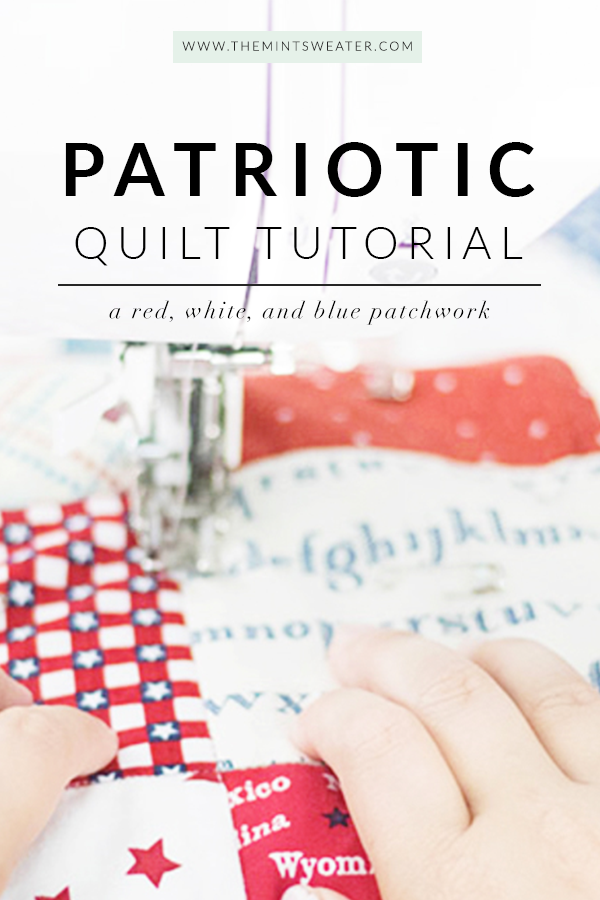
Hey all our creative gals! We’ve got a fun, easy, and super simple red, white, and blue patriotic quilt tutorial on the blog for you today.
Let’s just get right to it!
Patriotic Quilt:
Step 1: Pick out your fabric, pattern, & size. I decided to create my own pattern for this quilt. I used a patchwork style, however, added a twist by only using blue fabric in the upper left corner to give the quilt a similar look to the American Flag. The size I chose was a 60 x 60 quilt with four-inch squares.

You can choose as many fabrics you would like to use. I chose 20 different fabrics and I made sure to get 1/2 yard of each. I chose red, white, and blue fabrics that were crazy and fun. I wanted this quilt to be a super fun and vibrant picnic blanket the whole family could enjoy.


Step 2: Wash all of your fabrics before using & then iron them.

Step 3: Cut your fabrics by first squaring them up and then cutting them into 41/2 inch wide strips.

Step 4: Next cut your strips into 4 1/2 by 4 1/2 inch squares.


Step 4: Layout your squares in the pattern you want.
Step 5: Sew the squares together in rows.


Step 6: Iron the rows. After all of your squares are sewn together in rows, next iron the rows on the back side of the fabric.

All the seams that combine the squares in one row should be ironed the same direction.

Do make sure, however, that the seams are going in opposite directions in alternating rows.


Step 7: After all of your seams have been ironed, place the first two rows right sides together and pin at the seams making sure the seams are in opposite directions.

Step 8: Sew the rows together.

Repeat the pinning and sewing process until all the rows have been sewn together.
After you have finished sewing the rows together, when you open up the fabric, you should be able to see that the squares line up in every corner.

If some of the squares don’t line up perfectly that is okay. I am not a perfect quilter and a lot of my squares don’t always line up just right.
Step 9: Trim all the excess thread around the squares and iron the back of the fabric to make sure all the seams lay flat.
Step 10: Sew your backing fabric. My backing fabric wasn’t big enough to fit the quilt so I had to cut to halves and sew them together to make it fit. After your backing fabric is made to size tape it to a flat surface face down.


Step 11: Sandwich the quilt. Next place the batting down on top of the backing fabric followed by the quilt top faced up. An optional step I take is to spray fabric glue in between layers for extra stability.

Step 12: Pin the quilt. After the quilt is sandwiched together use safety pins to pin all three layers together. I put a safety pin about every three inches and in this case in every square.


Step 13: After you’ve sandwiched your quilt and have it completely pinned, it is time for quilting. You can choose any pattern for quilting, but I went simple with stitch in the ditch.


Step 14: After you’ve quilted the entire quilt, take out all the pins and square up your quilt.

Step 15: Bind the quilt. Prepare the binding by taking your binding fabric after it has been washed and ironed and cut the fabric into 2 1/2 in wide strips. Next, sew one side of the binding onto the quilt and hand stitch the other side.

After you have finished the quilting, squared up your quilt, and sewn on the binding your quilt is now finished.


Here is my finished quilt.

You are all ready now to take it out for some picnicking!


Thank you all so much for joining me today. Tag me on social media here with your next quilting projects!
Be the first to comment